Every home today depends on safe and reliable access to electricity. Long before modern power strips existed, people used simple wooden boards with hand wired sockets to run early electrical appliances. These boards may look basic, but they were an important step in making electricity easy to use. In this activity you will build your own extension board and learn how simple electrical systems work.
Concepts Covered
This activity explores how household wiring is organized and how each wire has a specific function. It highlights the role of the live wire in switching, the importance of earthing for safety, and the need for proper insulation. Key ideas include current carrying capacity, wire thickness, socket ratings, and the protective function of a fuse in preventing damage from extra current.
Challenge
Safety Instructions
Work only with low power devices while testing your board. Never touch exposed wires when the board is plugged in. Make sure your hands are completely dry. If you are unsure about any step, ask your teacher or an adult to guide you. Always unplug the board before making any change in the wiring.
Problem Statement
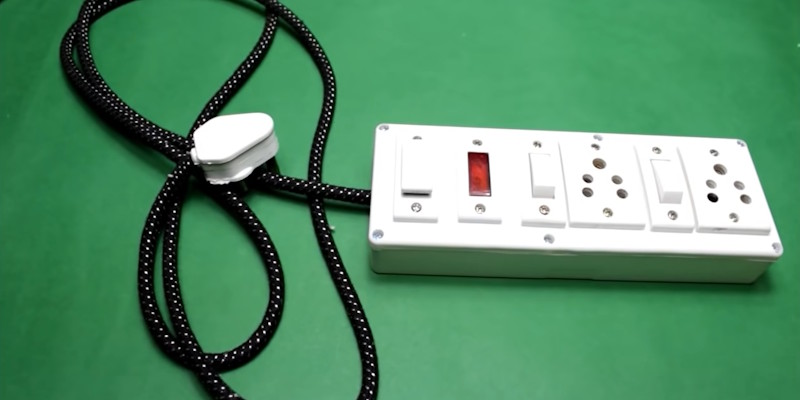
Your task is to build a working extension board that has two sockets with independent switches. Each socket should turn on and off without affecting the other one. You will also add an indicator light that shows when your extension board is connected and receiving power. You may also include a fuse to protect the board from extra current. Your extension board must also include an earthing wire.
Before you begin, note the typical color codes used in household wiring.
-
Live wire is usually red or brown.
-
Neutral wire is usually black or blue.
-
Earth wire is usually green or green with a yellow stripe.
Start by planning your layout. Place the two sockets with enough space for plugs. Fix the switches close to the sockets they control so the wiring remains simple. Remember that the switch must always be connected to the live wire so that it cuts the power safely when turned off. Decide where to place the indicator light so it is easy to see. If you choose to add a fuse, keep it near the incoming live wire.
Use a strong plastic or wooden box to hold all the parts. Drill or cut holes for the sockets, switches, and indicator before you start wiring. Strip the wire ends carefully. Connect the live wire through each switch to its socket. Connect the neutral wire directly to both sockets. Connect the earth wire from the main input to the earth points of both sockets. Connect the indicator across the main input so it lights up when the board is plugged in.
Check each connection slowly and make sure no copper is exposed. Keep the wires neat and avoid unnecessary crossings. Close the box only after all parts are fixed firmly in place.
Testing Your Design
-
Plug your extension board into a known working wall socket.
-
Check if the indicator light turns on to show that the board is receiving power.
-
Turn the first switch on and test with a small device like a night lamp or charger.
-
Turn the first switch off and test the second socket in the same way.
-
Plug devices into both sockets and check if the switches control them independently.
-
If your fuse is included, test the board with normal devices only. A good fuse will not break during normal use.
-
If any part does not work, unplug the board and look for loose or incorrect connections.
Reflect and Discuss
-
Which step of the wiring process took the most careful thinking?
-
Why should the switch always be connected to the live wire and not the neutral wire?
-
What is the role of the earthing wire in an electrical device?